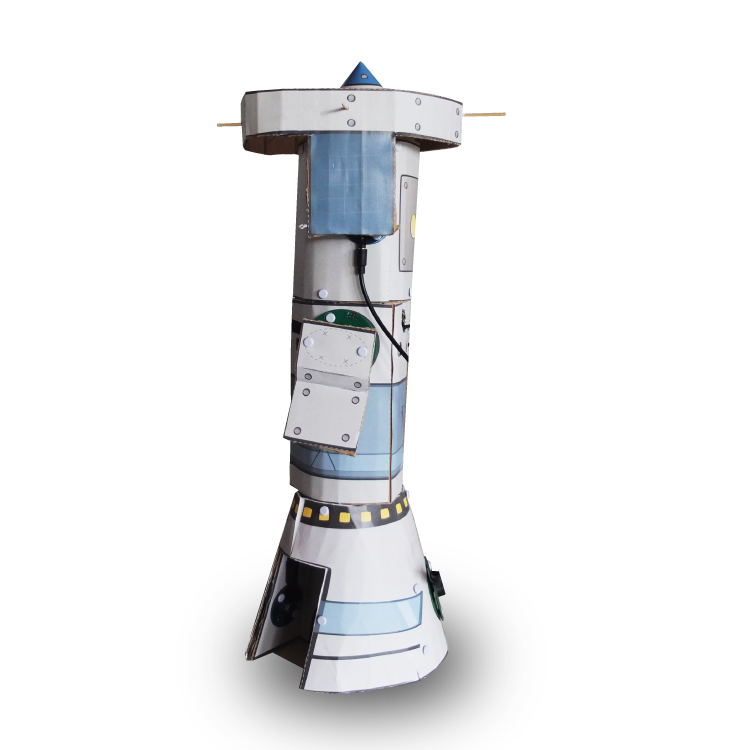
Kun jij een versie van het ruimtestation bouwen? De blueprints zitten in de kit die je hebt.
❮❯
Het ruimtestation gebruikt dezelfde onderdelen die je eerder hebt gebruikt en wat nieuwe.
❮❯
Bijvoorbeeld de licht sensor, probeer ze maar eens uit!
❮❯
Bekijk de video en volg de stappen om het ruimtestation te bouwen.
❮
Als je (bijna) klaar bent zul je zien dat het brein aan de buitenkant van het station hangt. Dat is niet zomaar.
❮❯
Zo kun je namelijk makkelijk de programmeerbare chip toevoegen!
❮❯
Ga naar je space account om de programmeer-missies te starten!
❮❮❮
Missie 3
RUIMTESTATION
Ruimtestation bouwen
Scroll naar beneden voor de stappen
Het plan
De aliens zijn onder de indruk van jouw reddingsacties! Ze zijn bezig met een nieuwe ruimtestation testen en hopelijk dat jij er ook 1 op aarde wil maken om te kijken hoe deze het overleeft in jullie atmosfeer.
Let op! Voor deze creatie heb je (bijna) alle onderdelen nodig die in de full-kit zitten. Je kan je starter-kit ook uitbreiden zodat je evenveel spullen hebt als een full-kit.
BYOR-onderdelen van het ruimtestation (Elektronica)
Het ruimtestation bevat een heleboel onderdelen! Hier onder vind je de hele lijst.
De stappenmotor (2x)
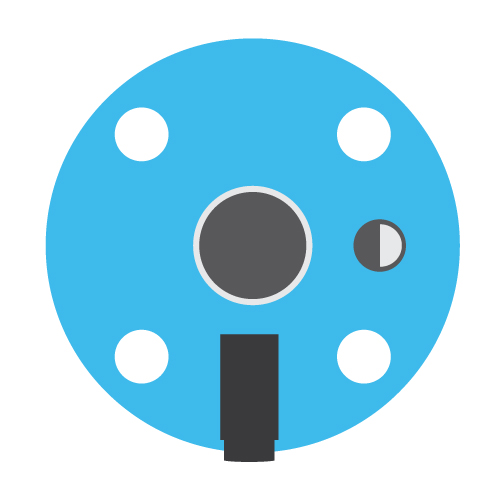
The Knob
De LED (2x)
The Distance sensor
The buzzer
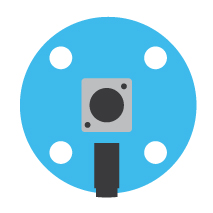
De licht sensor
De servo motor
De geluidssensor
Het zijn dus een boel onderdelen die ingebouwd moeten worden. Als je denkt: dat gaat niet passen in het Easyboard, dan heb je gelijk, we gebruiken hiervoor splitter-kabels.
De splitter kabel maakt van een aansluiting twee aansluitingen. Aan de ene kant heb je dus nog wel twee signaalkabels nodig om er onderdelen op aan te kunnen sluiten.
Probeer de splitter-kabel maar eens uit, sluit 2 output onderdelen (groen) aan op de splitter uitgangen (gebruik hiervoor twee gewone signaalkabels). En sluit de splitter-ingang dan aan, aan de groene kant op het Easyboard. Sluit een input-onderdeel (blauw) hier recht tegenover aan op het Easyboard en voorzie het Easyboard van energie met de powerbnk. Geef het blauwe input-onderdeel een signaal. Gaan beide groene onderdelen aan?
Probeer het met twee onderdelen die weinig stroom verbruiken, bijvoorbeeld twee LEDs. Met twee stappenmotors lukt het niet altijd.
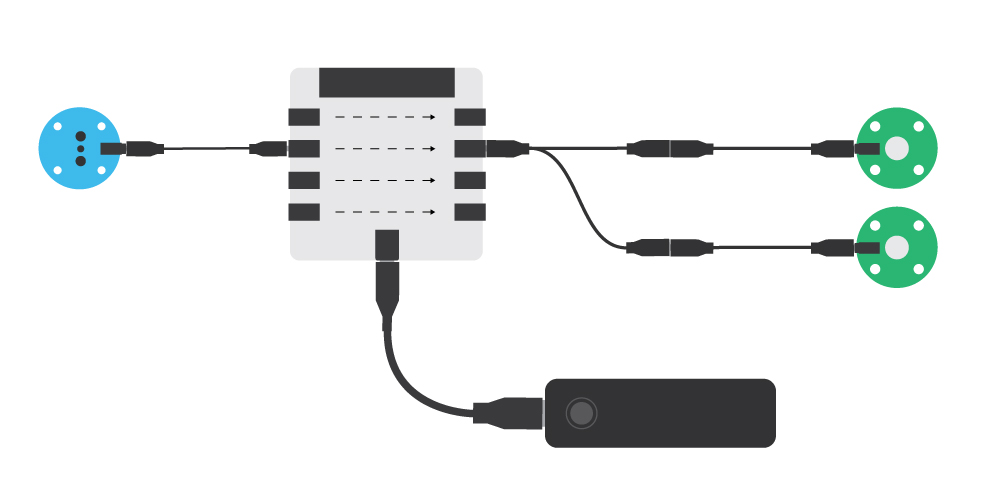
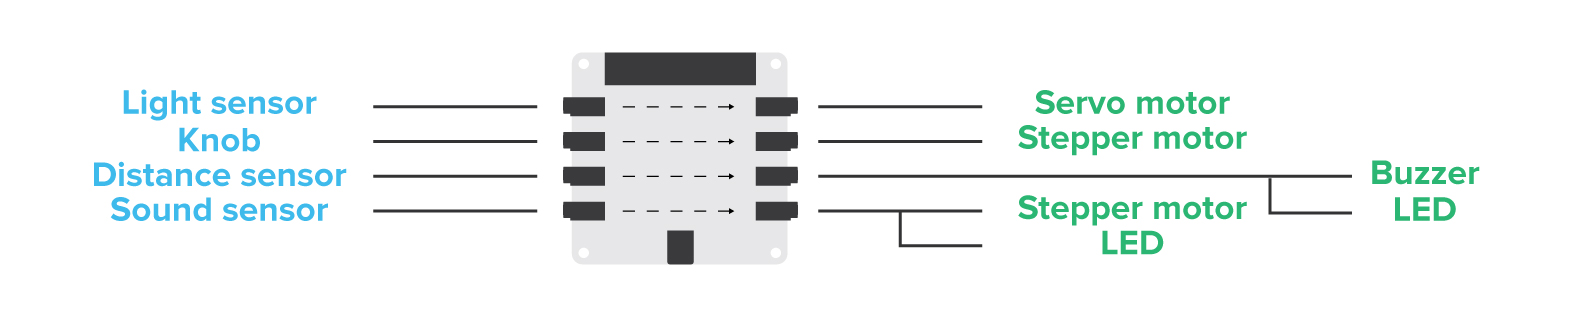
Het stroomschema
Bij elk elektrisch apparaat wat wordt ontworpen, wordt een stroomschema getekend. Dit schema laat zien hoe de elektronica moet gaan werken. Gelukkig is de elektronica van BYOR erg gemakkelijk in gebruik en is onderstaand aansluitschema voor nu voldoende. Volg de lijnen en kijk hoe alles aangesloten gaat worden.
Voor de vertakkingen van de lijnen gebruik je de splitter-kabels.
×
Bouwen van het ruimtestation
Gebruik de blauwdruk (blueprint) die de aliens hebben meegestuurd met de BYOR-elektronica om een ruimtestation te maken. Als je de blueprint niet hebt dan kun je hem hier ook bestellen.
Zo gebruik je de blueprint
Net als bij de andere blueprints plak je de blueprint op karton en je knipt vervolgens langs de stippellijnen.
Soms is het handiger om eerst de vormen uit het papier te knippen, dan op karton te plakken en dan de vorm in het karton nogmaals uit te knippen.
Vouwlijnen en de plaats van splitpennen zijn ook weer aangegeven. Bij het ruimtestation komen wel wat handigheidjes kijken die alleen in
Voor het bouwen van de communicatieschotel heb je naast de blueprint en de BYOR-onderdelen nog nodig:
-Een schaar
-Lijm
-Karton
-Een prikker (of een prikpen)
-Splitpennen
×
Deel je creatie met ons!
Zorg er voor dat je ingelogd bent om space-tokens te krijgen!
Log in
Upload een video van je creatie en stuur ons de link!
Je kan je creatie ook op social media zetten en @byorcraft taggen!