
Log in
[weglot_switcher]

Missie 1
DE ALIENS HELPEN
Buitenaardse zaklamp bouwen Scroll naar beneden voor de stappen
De Basis: Energie
Om te zien of de technologie de reis door de ruimte overleefd heeft gaan we de onderdelen checken, we beginnen bij de batterij.
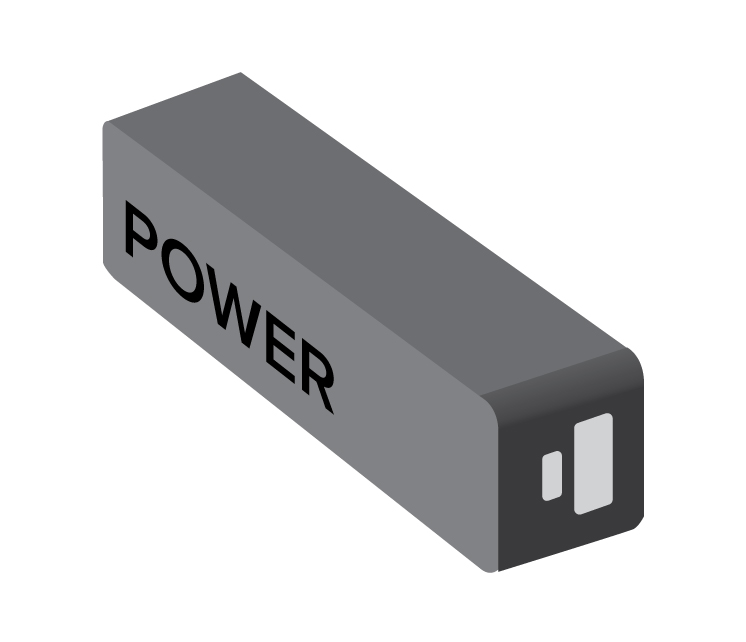 Batterij / Powerbank 🔋
De batterij kan energie opslaan, deze batterij is een Lithium-Ion batterij. We kunnen er elektriciteit in doen en bewaren tot dat we de energie nodig hebben.
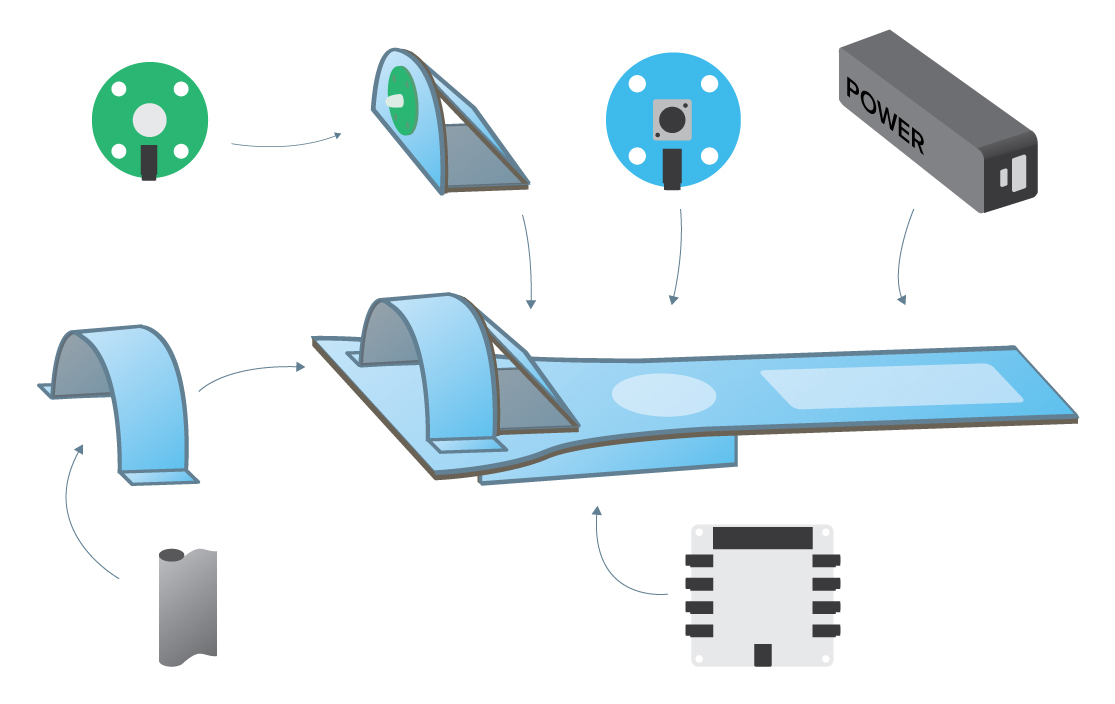
Het "Easyboard"
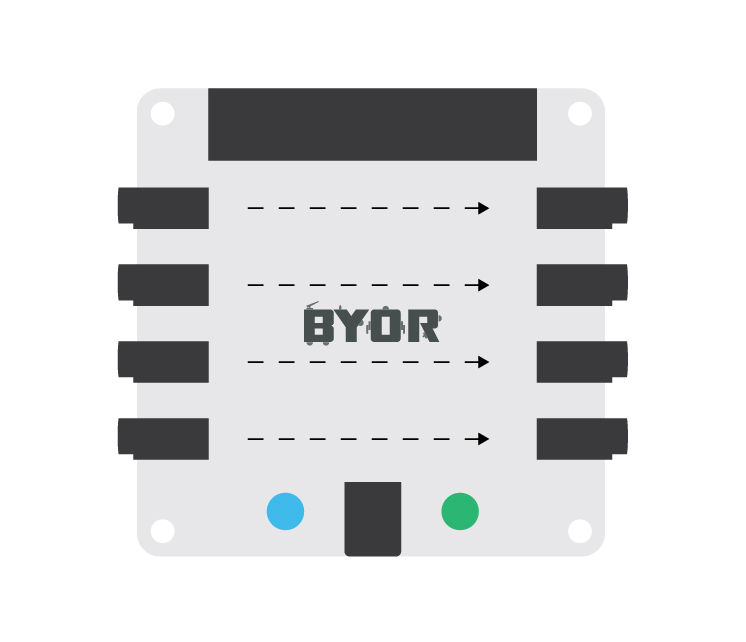
Het Easyboard is het brein van de BYOR-technologie.
Het Easyboard heeft 4 verschillende aansluitingen, input-aansluitingen, output-aansluitingen, een power-aansluiting en een aansluiting voor de micro:bit. Deze laatste komt later pas aan bod.
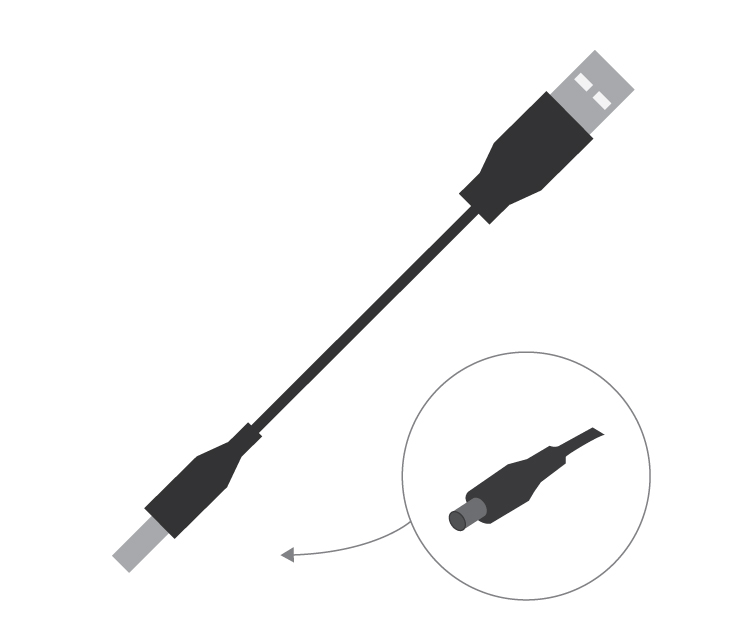
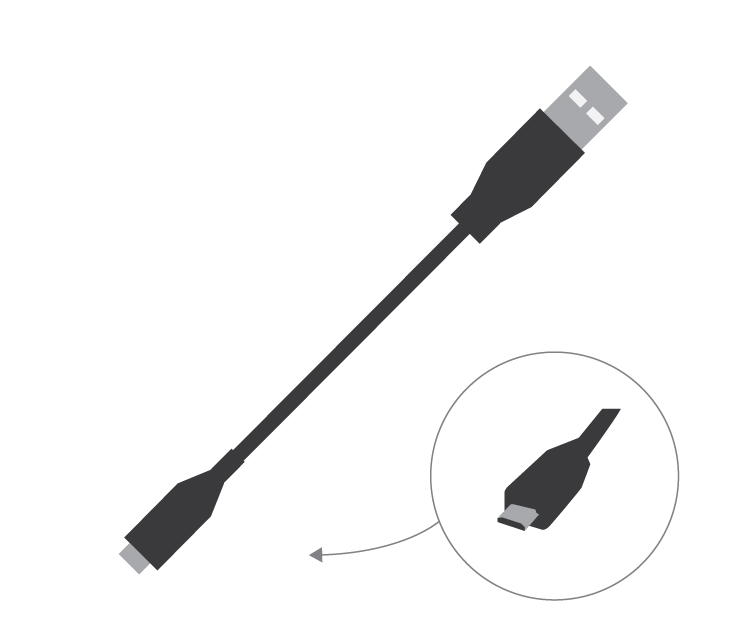
Sluit op de power-aansluiting (onderaan het Easyboard) het ronde stekkertje aan van de power-kabel. Sluit de andere kant van de powerkabel aan op de batterij/powerbank.
Vlak boven de aansluiting zit een lampje dat oplicht als de Easyboard stroom heeft.
 Easyboard
Powerbank opladen
Als het lampje niet aan gaat kan het zijn dat de batterij leeg is, gebruik de oplaadkabel om deze op te laden
Batterij / Powerbank 🔋
Maak een simpele licht-module
Om alle onderdelen te testen maken we een simpele licht-module. Pak 2 signaal-kabels, de LED en de Knop. Op de achterkant van de onderdelen staat welke het zijn.

LED
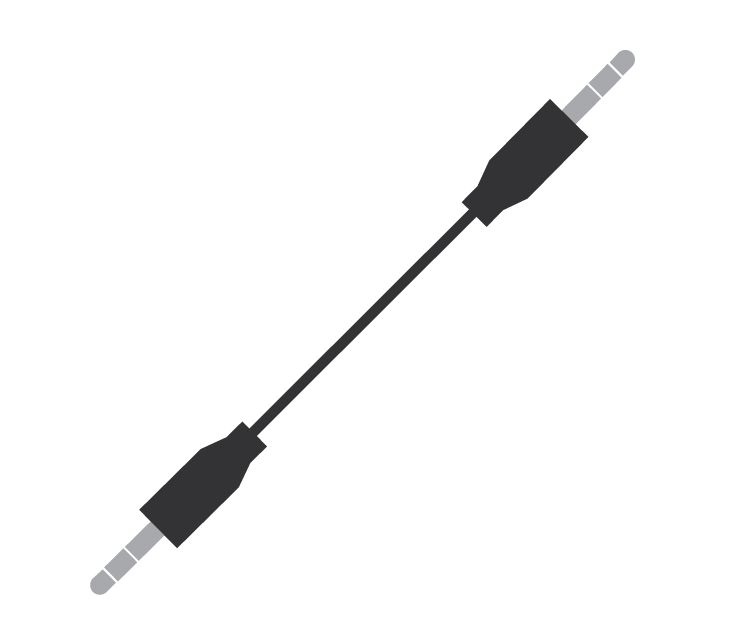
2x Signaal kabel
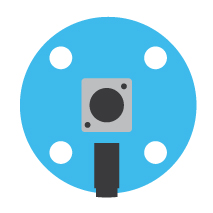
Knob
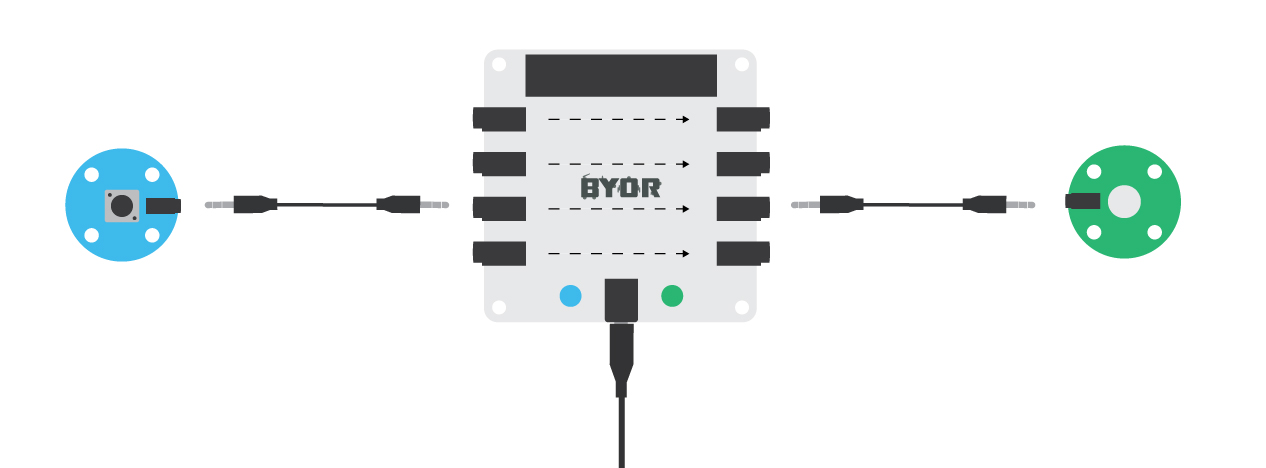
Pak de knop en het Easyboard. Sluit het uiteinde van een signaalkabel aan op de knop (stekkertje helemaal er in duwen) en sluit het andere uiteinde aan op een aansluiting op het Easyboard aan de blauwe kant. Pak nu de LED en sluit hier een andere signaalkabel op aan, sluit de andere kant van deze kabel aan op het Easyboard aan de groene kant en recht tegenover de eerder aangesloten kabel waar je knop aan zit.
How to build with BYOR
BYOR onderdelen vastzetten op karton kan het beste met splitpennen. Het is handig om dan eerst een gat te prikken met een prikker.
1.
Hou het onderdeel op de plek waar je deze wil hebben en prik een gat door het karton door de gaten van het onderdeel.
2.
Duw een splitpen door dat gat.
3.
Vouw de splitpen aan de andere kant open.
4.
Herhaal voor minstens nog 1 gat en het onderdeel zit vast!
1.
Hou het onderdeel op de plek waar je deze wil hebben en prik een gat door het karton door de gaten van het onderdeel.
2.
Duw een splitpen door dat gat.
3.
Vouw de splitpen aan de andere kant open.
4.
Herhaal voor minstens nog 1 gat en het onderdeel zit vast!

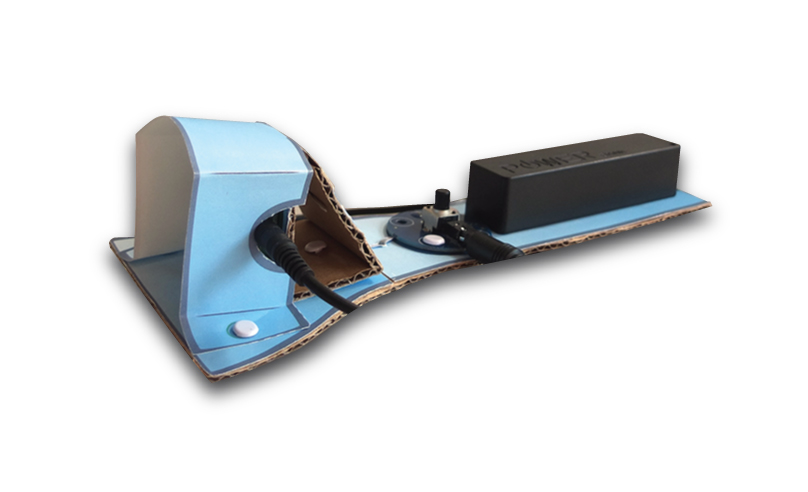
Bouw een buitenaardse zaklamp
Gebruik de blauwdruk (blueprint) die de aliens hebben meegestuurd met de BYOR-elektronica om een zaklamp te maken. Als je de blueprint niet hebt dan kun je hem hier ook bestellen.
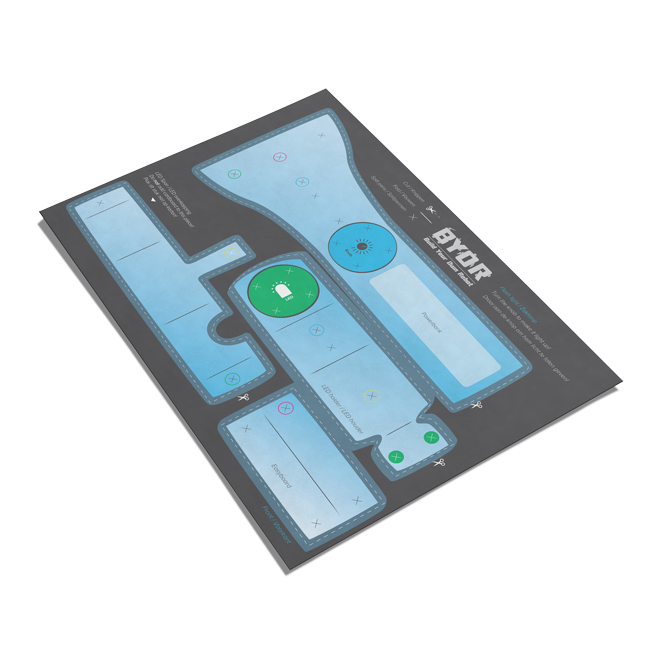
Zo gebruik je een blueprint
De blueprint plak je op karton en je knipt vervolgens langs de stippellijnen. Soms is het handiger om eerst de vormen uit te knippen, dan op karton te plakken en dan de vorm in het karton nogmaals uit te knippen. Vouwlijnen en de locaties van splitpennen zijn ook aangegeven.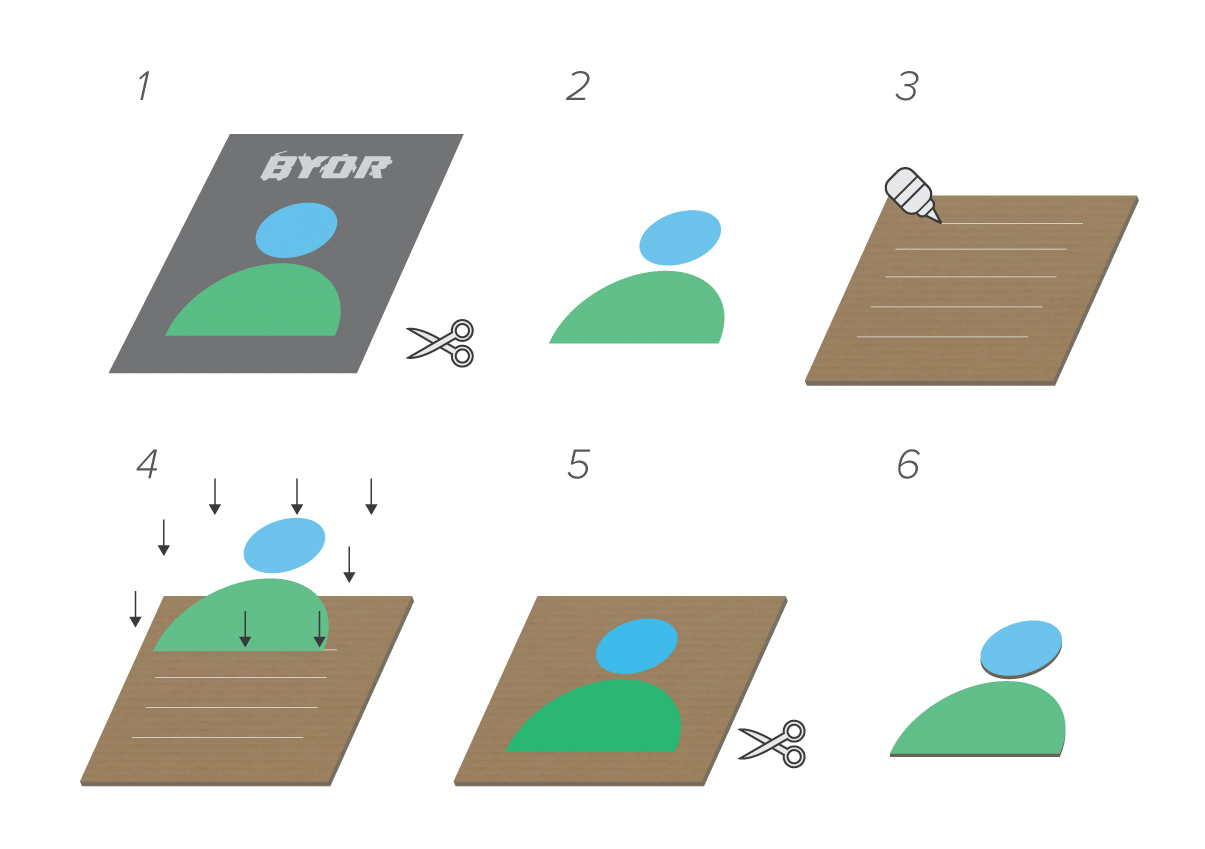
Voor het bouwen van de zaklamp heb je naast de blueprint en de BYOR-onderdelen nog nodig:
-Karton
-Een schaar
-Lijm
-Een prikker (of een prikpen)
-Splitpennen
-Tape (voor vastzetten powerbank)
-Aluminiumfolie (voor een mooi effect rondom de LED)
Deel je creatie met ons!
Zorg er voor dat je ingelogd bent om space-tokens te krijgen!
Log inUpload een video van je creatie en stuur ons de link!
Je kan je creatie ook op social media zetten en @byorcraft taggen!Overslaan